Die kurze Antwort
Verwenden Sie Vinyl für langlebige gestanzte Aufkleber, die auf Flaschen und Laptops haften, klar BOPP für einen budgetfreundlichen Look ohne Etikett, und Papier nur für den Innenbereich, dekorative Verwendung. Alles, was gewaschen oder der Sonne ausgesetzt wird, benötigt ein Folienobermaterial und eine Laminierung. Dann die zwei Dinge, die die meisten Käufer falsch machen: den Klebstoff an die Oberfläche anpassen und bei einer engen Kurve eine dünnere, anpassungsfähigere Folie wählen, nicht eine dicke.
| Material | Wasserdicht | Außenbereich | Am besten für | Kosten |
|---|---|---|---|---|
| Papier | Nein — nur Spritzwasser | Nur für Innenräume | Dekorative, kurzlebige Aufkleber | $ |
| Vinyl (PVC) | Ja | 5–7 Jahre mit UV-Laminat | Flaschen, Laptops, gestanzte Einzelstücke | $$ |
| BOPP | Ja | 1–3 Jahre im Freien | Klarer „No-Label“-Look, budgetfreundlich | $ |
| PET | Ja | 10+ Jahre mit Fluorpolymer-Laminat | Hitz- und chemikalienbeständig | $$$ |
Die Lebensdauer im Freien setzt ein passendes Laminat und Klebstoff voraus; die Angaben sind Herstellerangaben, keine Garantien.
1. Beginnen Sie mit dem Material
Ein Aufkleber versagt am Material lange bevor er an anderer Stelle versagt, weshalb es an erster Stelle kommt. Die Trennlinie ist Papier versus Folie.
Papier ist günstig und nimmt Tinte wunderbar auf, aber es zieht Wasser, knittert und reißt – es ist nur für innere, dekorative, kurzlebige Aufkleber geeignet. Für alles, was gehandhabt, gewaschen oder Sonnenlicht ausgesetzt wird, benötigen Sie eine Folie Oberfläche. Vinyl (PVC) ist das Arbeitstier für gestanzte Aufkleber: Es passt sich einer gebogenen Wasserflasche an, ohne sich zu lösen, widersteht Wasser, UV-Strahlung und Abrieb und ist das Standardmaterial für holografische, Glitzer- und andere Spezialoberflächen. BOPP ist die klare „No-Label-Look“-Folie, wasserdicht und glänzend zu einem moderaten Preis. PET ist das robusteste der drei – die Wahl, wenn ein Aufkleber mit Chemikalien oder Hitze in Kontakt kommt. Holografische und metallische Aufkleber basieren normalerweise auf Vinyl oder PET.
Wenn „wasserdicht“ auf Ihrer Liste steht, ist hier die Entscheidung gefallen. Papier kann nur spritzwassergeschützt sein, selbst unter einem Laminat, da Wasser die Kanten findet. Ein wirklich wasserdichter Aufkleber benötigt eine Folienoberfläche – das Laminat schützt ihn, aber die Folie macht ihn wasserdicht. Unser Leitfaden für den besten Aufkleber für Flaschen und Laptops funktioniert über die langlebigen Optionen.
2. Drucken Sie es
Es gibt drei Wege, die Qualität, Kosten und Haltbarkeit austauschen. Tintenstrahl liefert Fotoqualität in Farbe, und mit Pigmenttinten (nicht Farbstofftinten) hält es Wasser stand. Laser ist schnell und sein Toner ist wasserfest, aber er kann kein hitzeempfindliches glänzendes Material verarbeiten. Ein professioneller Produktionslauf (Eco-Lösemittel, UV oder Flexodruck) erschließt die langlebigen Materialien und Oberflächen, die ein Desktop-Drucker nicht erreichen kann, und kostet pro Einheit in großen Mengen weniger.
Welcher Weg auch immer, zwei Regeln gelten. Erstellen Sie die Grafik in CMYK, nicht im RGB Ihres Bildschirms, da sich die Farben beim Drucken verschieben. Erstellen Sie sie auch in Druckauflösung (300 dpi), oder ein Webbild wird auf Papier blockartig. Dann passen Sie die Tinte an die Lebensdauer an: Farbstofftinten verlaufen, wenn sie nass werden, also alles, was gewaschen oder Regen ausgesetzt wird, benötigt Pigment-, Eco-Lösemittel- oder UV-Tinte, plus eine Laminierung. Wenn Sie zu Hause drucken, behandelt der Heimdruckleitfaden das Anpassen des Materials an Ihren Drucker.
Selbst das Arbeiten in CMYK hat eine harte Grenze: Die Neon- und Metallicfarben, die Sie auf dem Bildschirm ausgewählt haben, liegen außerhalb dessen, was der Vierfarbdruck erreichen kann. Ein heißes Bildschirmgrün kommt gedämpft heraus, ein fluoreszierendes Pink druckt näher an Lachs, und „metallisches Gold“ landet als flaches Senfgelb. Wenn eine Farbe die Marke tragen muss, geben Sie eine Sonderfarbe oder Pantone-Tinte an oder verwenden Sie ein metallisches Substrat, anstatt dem Prozess zu vertrauen, dass er Ihren Bildschirm abgleicht.
3. Die Oberfläche
Die Oberfläche ist die Beschichtung oder Laminierung, die über den Druck gelegt wird, und sie hat eine doppelte Funktion: Sie bestimmt das Aussehen und schützt. Glanz sättigt die Farbe und hebt sich im Regal hervor; matt streut Blendung für eine hochwertige, lesbare Oberfläche; Soft-Touch verleiht ein samtiges, hochwertiges Gefühl, das bei Beauty- und Spirituosenprodukten verwendet wird. Eine klare Überlaminierung über jedes dieser Materialien bietet Wasser-, Kratz- und UV-Beständigkeit, die einen empfindlichen Druck in einen haltbaren verwandelt, der in einem Rucksack überlebt.
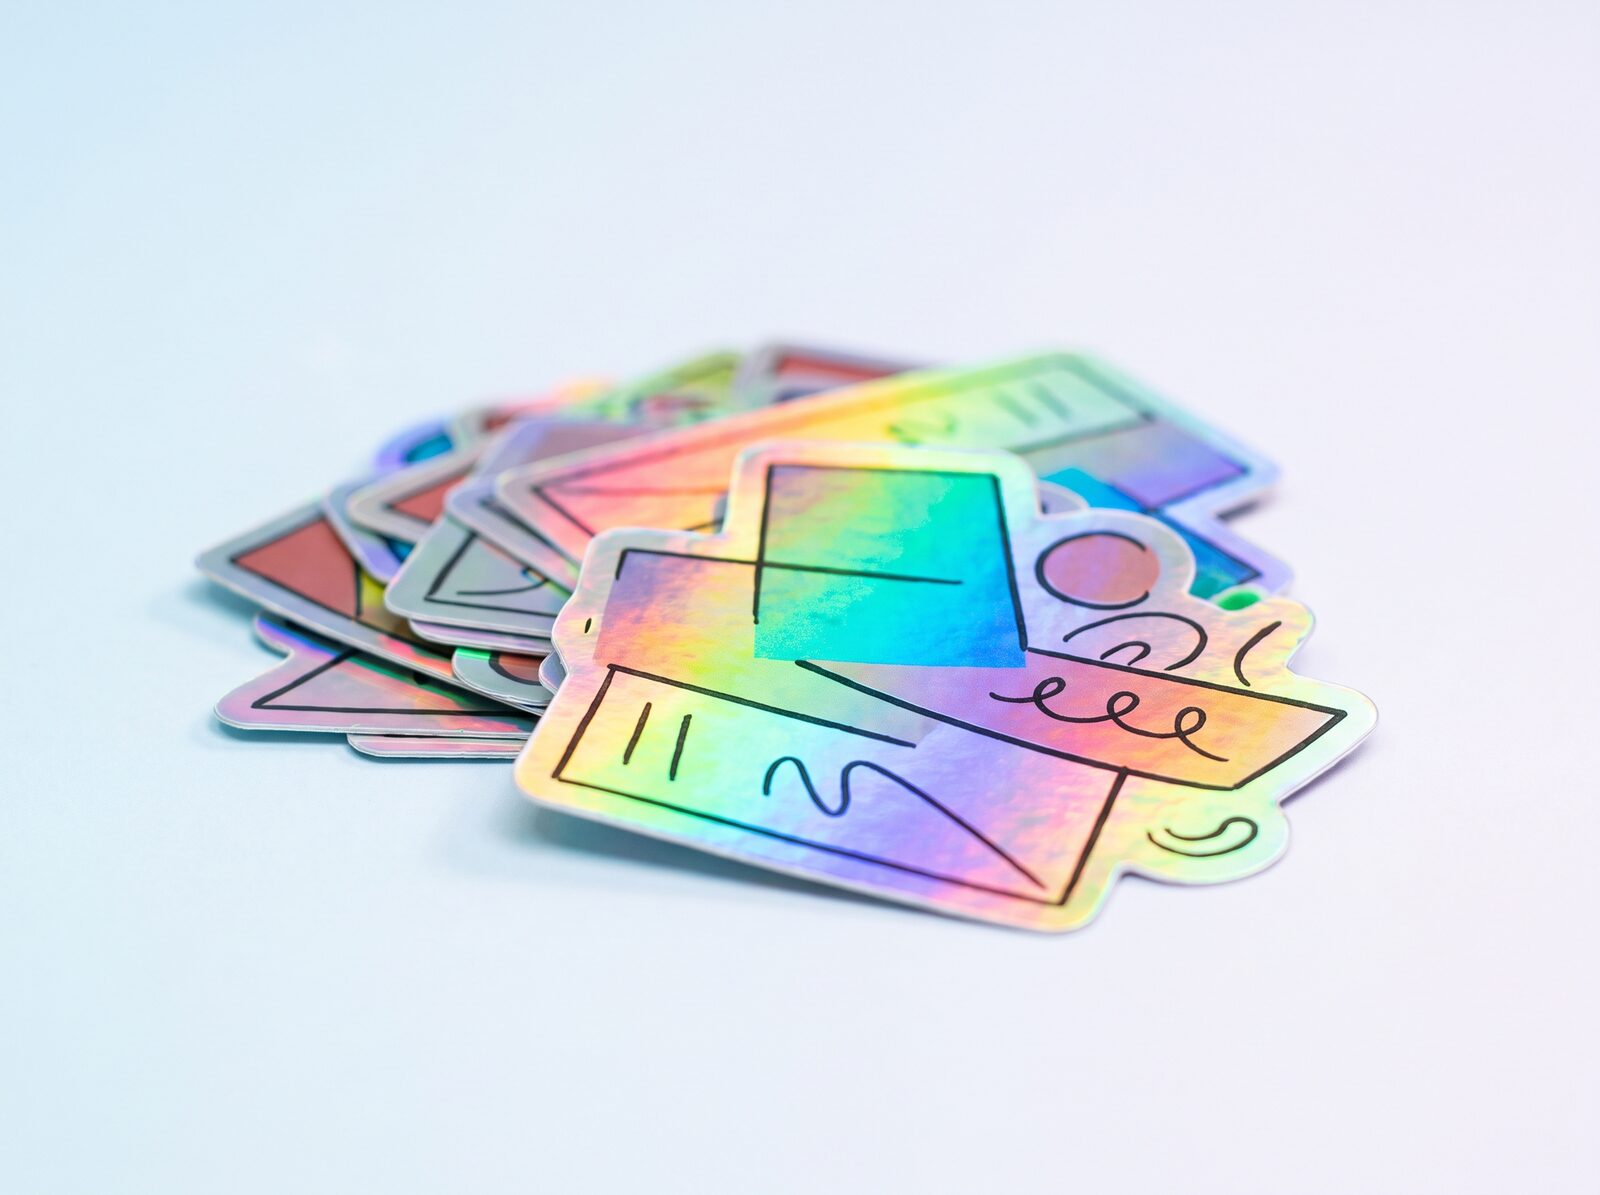
Holografische und Folienoberflächen sind ebenfalls Finishes – ein Regenbogen- oder Spiegeleffekt, der auf das Design aufgebracht wird – und sie sind ein großer Teil dessen, warum ein individueller Aufkleber hochwertig wirkt. Die eine Regel: Laminieren Sie einen bedruckten Aufkleber erst, nachdem die Tinte getrocknet ist (etwa 24 Stunden, wenn Sie ihn selbst gedruckt haben), da er sonst unter der Folie verschmiert. Die Schritt-für-Schritt-Anleitung finden Sie unter wie man laminieren kann.
4. Schneiden Sie es in Form
Wie ein Aufkleber geschnitten wird, ist der Unterschied zwischen einem sauberen Abziehen und Anbringen und einem Design, das reißt, wenn Sie es anheben. Es gibt drei Schnittarten.
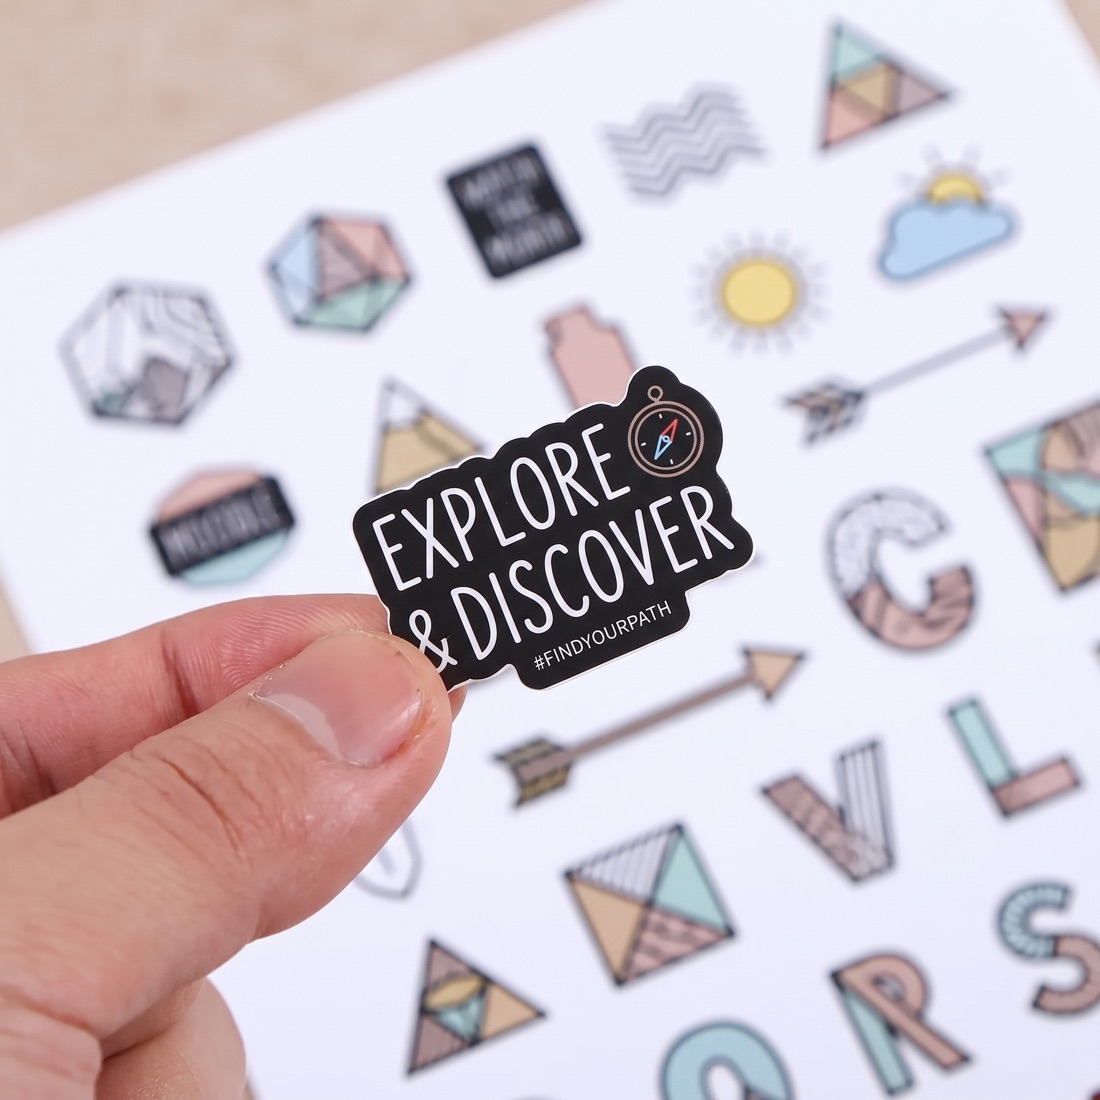
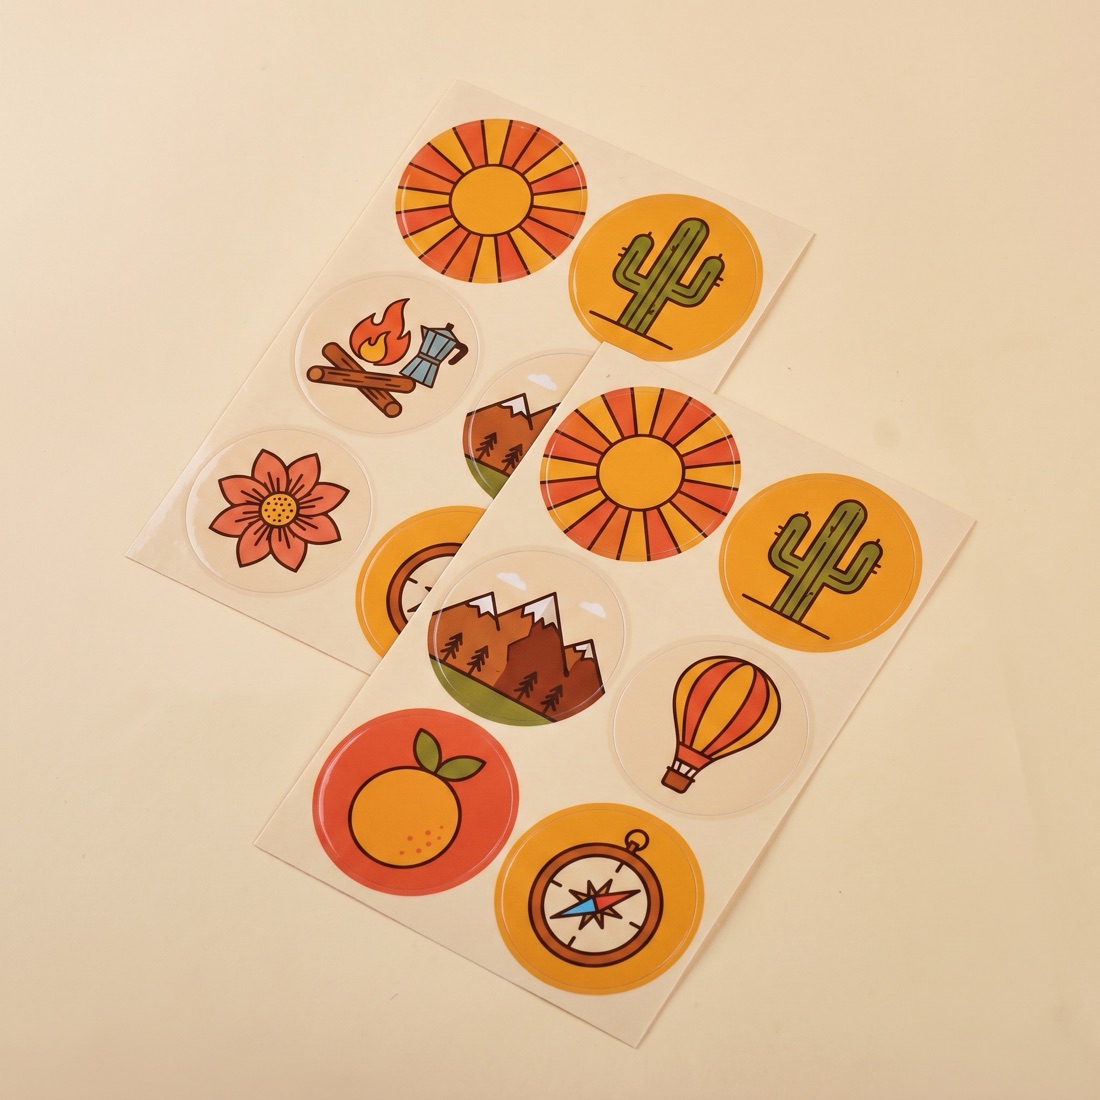
Stanzen folgt der genauen Kontur durch sowohl das Obermaterial als auch das Trennpapier und erzeugt eine fertige, eigenständige Form: den einzelnen Aufkleber, den Sie verteilen oder einzeln verkaufen. Anstanzen schneidet nur das Obermaterial und lässt das Trennpapier intakt, sodass mehrere Aufkleber auf einem Trägerblatt sitzen und ohne Berührung des Designs abgezogen werden können – das Format für Aufkleberpacks, Planungsblätter und filigrane Designs. Durchstanzen öffnet negativen Raum im Design, sodass die Fläche dahinter durchscheint. Bei Mengen gibt es kein Mindestmaß für Blätter, die durch einen Desktop-Drucker gefüttert werden; bei größeren Auflagen laufen Rollen auf einem Applikator. Der Einstieg ins Stanzen erklärt die Abwägungen und das Werkzeug.
5. Machen Sie es haltbar – besonders im Freien
Haltbarkeit ist ein Stapel: ein Folienobermaterial, wasserfeste Tinte und eine schützende Laminierung, die zusammenarbeiten. Drinnen ist diese Kombination normalerweise ausreichend. Draußen wird es zu einer Leiter. Eine einfache Folie hält ein oder zwei Jahre; gegossenes Vinyl unter einer UV-Laminierung erreicht fünf bis sieben Jahre; Hochleistungs-PET mit einer Fluorpolymer-Laminierung hält über zehn Jahre. Die Tabelle zur Außenhaltbarkeit stellt die gesamte Leiter dar.
Der Klebstoff entscheidet, wie lange das alles hält. Fragen Sie nach einem UV-stabilen Acryl für alles, was im Freien oder langlebig ist; der Gummikleber haftet am ersten Tag stark, altert aber schlecht unter Sonne und Hitze und lässt oft innerhalb eines oder zwei Jahre nach.
Ein Misserfolg wird dem Kleber zugeschrieben, wenn das Material der Übeltäter ist. Setzen Sie einen dicken, steifen Aufkleber auf eine schlanke Flasche oder die gebogene Kante eines Laptops, und die Ecken heben sich innerhalb einer Woche. Der Kleber ist in Ordnung. Ein starres Obermaterial hat ein Gedächtnis. Unter etwa 30 mm Durchmesser (ein Stiftgehäuse, ein Lippenbalsam-Röhrchen, ein schlanker Fläschchen) zieht die eigene Steifigkeit der Folie es zurück in die flache Form und drückt an den eigenen Kanten, bis eine nachgibt. Die Lösung läuft gegen den Instinkt — dünner werden. Ein dünnes, anpassungsfähiges Obermaterial biegt sich um die Kurve, anstatt dagegen anzukämpfen, sodass ein sich flimsy anfühlendes Vinyl oft länger hält als ein dickes auf allem Rundem. Bei einer engen Kurve ist der Durchmesser ebenso wichtig wie das Material. Der Aufbau ist in wie man Aufkleber für den Außenbereich haltbar macht.
Ein Aufkleber, der hält
Ein Folienobermaterial (kein Papier) + wasserfeste Tinte + eine schützende Laminierung + der richtige Schnitt + ein UV-stabiler Acrylkleber für alles im Freien.
Häufig gestellte Fragen
Welches Material ist am besten für individuelle Aufkleber?
Vinyl für langlebige gestanzte Aufkleber, die auf Wasserflaschen, Laptops und Ausrüstung leben — es passt sich an Kurven an und widersteht Wasser und UV. Transparentes BOPP für einen Budget- oder No-Label-Look-Aufkleber; Papier nur für den Innenbereich, dekorative, kurzlebige Verwendung. Alles, was nass wird oder Sonnenlicht ausgesetzt ist, benötigt ein Folienobermaterial, kein Papier.
Wie mache ich einen individuellen Aufkleber wasserdicht?
Beginnen Sie mit einem Folienobermaterial — Vinyl, BOPP oder PET, niemals Papier — und fügen Sie dann eine klare Überlaminierung hinzu. Papier kann selbst wenn es laminiert ist, nur spritzwassergeschützt sein, da Wasser die Kanten erreicht. Das Folienobermaterial plus die Laminierung macht einen Aufkleber wirklich wasserdicht.
Was ist der Unterschied zwischen gestanzten und angetanzten Aufklebern?
Gestanzte Aufkleber schneiden die gesamte Kontur durch sowohl das Obermaterial als auch das Trennpapier und geben eine fertige, eigenständige Form. Angetanzte Aufkleber schneiden nur das Obermaterial und lassen die Rückseite intakt, sodass mehrere Aufkleber auf einem Blatt sitzen und leicht abgezogen werden können — das Format für Aufkleberpacks und filigrane Designs.
Kann ich individuelle Aufkleber zu Hause machen?
Ja — drucken Sie Bogenetiketten auf einem Tintenstrahl- oder Laserdrucker, verwenden Sie ein Material, das für Ihren Drucker geeignet ist, und stanzen oder anstanzen Sie diese anschließend und laminieren Sie sie für Langlebigkeit. Für Wasserdichtigkeit drucken Sie auf Vinyl oder synthetischen Folien mit Pigmenttinte. Bei großen Auflagen oder ernsthafter Langlebigkeit ist eine professionelle Auflage pro Einheit günstiger und bietet Materialien, die ein Desktop-Drucker nicht liefern kann.
Machen Sie eine Auflage von individuellen Aufklebern? Teilen Sie uns mit, wo sie eingesetzt werden — Flaschen, Laptops, im Freien — und wir spezifizieren das Material, die Veredelung und den Klebstoff und senden Ihnen ein kostenloses Muster zur Prüfung.